I got married a few months ago and I thought that planning a wedding wasn't already stressful enough and decided that I wanted to bring some of my geekery to the reception and build all of our centerpieces. I was thinking of doing something like some of the firefly LED jars I saw online but my wife had the idea of having some kind of old-fashioned lantern so I decided to merge the two ideas together to build a firefly lantern centerpiece with several features that I thought would make it stand out.
Now you will have to excuse me, I had made this project during the last few weeks of my wedding planning while under tremendous pressure and stress and only wrote this article several month later. As a result, some of the details of this build are a bit hard to recall and my instruction are not as clear and detailed as I would have liked it to be. If you do decide to try to build one for yourself and end up struggling, let me know and I'll try to help you out!
The base for this project was the following criteria:
- Cheap to build (I would need 18 of them and the wedding cost enough as it was)
- Small circuit board (cheap to produce)
- Visually striking without being over stimulating (people had to eat while looking at them all evening)
- Fit the wedding color theme and look
I used a very nice and cheap lantern from Ikea that was available in several color. Our wedding color theme was coral and gold and I did not think any of the available color were too fitting so I went with the unpainted silver lantern and painted them gold to match the rest of the wedding theme.
I played with the different firefly lantern animation code that were available online and settled on a version developed my Xander Hudson (http://www.instructables.com/id/Jar-of-Fireflies/). The reason I chose this particular one is that I was impressed with the care with which Xander modelled the firefly light pattern using concrete research data on firefly behaviour and I thought this one looked much better than some of the other firefly animation code found online. The animation pattern seemed much more relaxing and realistic compared to the other that would just randomly flash one of the LEDs and it was using an attiny45 microcontroller which I already had in my parts bin.
I started by doing a prototype on a breadboard to make sure everything would work the way I intended. The hardest part was soldering the very tiny 0603 SMD LED to the very thin enamel wire. I normally never use enamel wire as I find them to be really hard to use but in this case they were the perfect choice as they can be very thin and could be bent without too much risk of breaking. The problem with enamel wire is that the insulation is not a typical plastic insulation, it's basically just a very thin coat of enamel glue so removing it is kinda tricky. Some people say the best way is to burn it with a lighter but for me it never produced clear result. What I found worked for me was to take a very sharp blade and scrape away the insulation while slightly turning the wire to remove most of it on all side. A single CR2032 button cell battery would be used to power up the circuit. The hex code for the firefly light simulation was flashed onto the attiny45 using AVRDude and a quick homemade adapter I built and an extra arduino I had laying arround that I had flashed to be used as an ISP programmer.


Once I was satisfied that it was working and that the firefly animation would be nice and not overstimulating, I went ahead and started to design my custom PCB. There was already a PCB available online for this circuit but I found it to be way too big. It was made to fit a mason jar and a big PCB cost much more to produce in small batches. Size of the circuit was also an issue so I redesigned my own and made it as small and self contained as possible to facilitate assembly. I also stumble upon yet another firefly jar project but this one had a fun added features that would make the firefly react to a tap on the glass using a piezzo so I also added that in my first PCB revision but I ended up abandoning that idea as I had difficulty making it work and I found the firefly animation pattern to be less interesting than the original one from Xander. All wasn't lost though because I had made the board in a way that I could still use it without the piezzo with the code I originally intended to use.
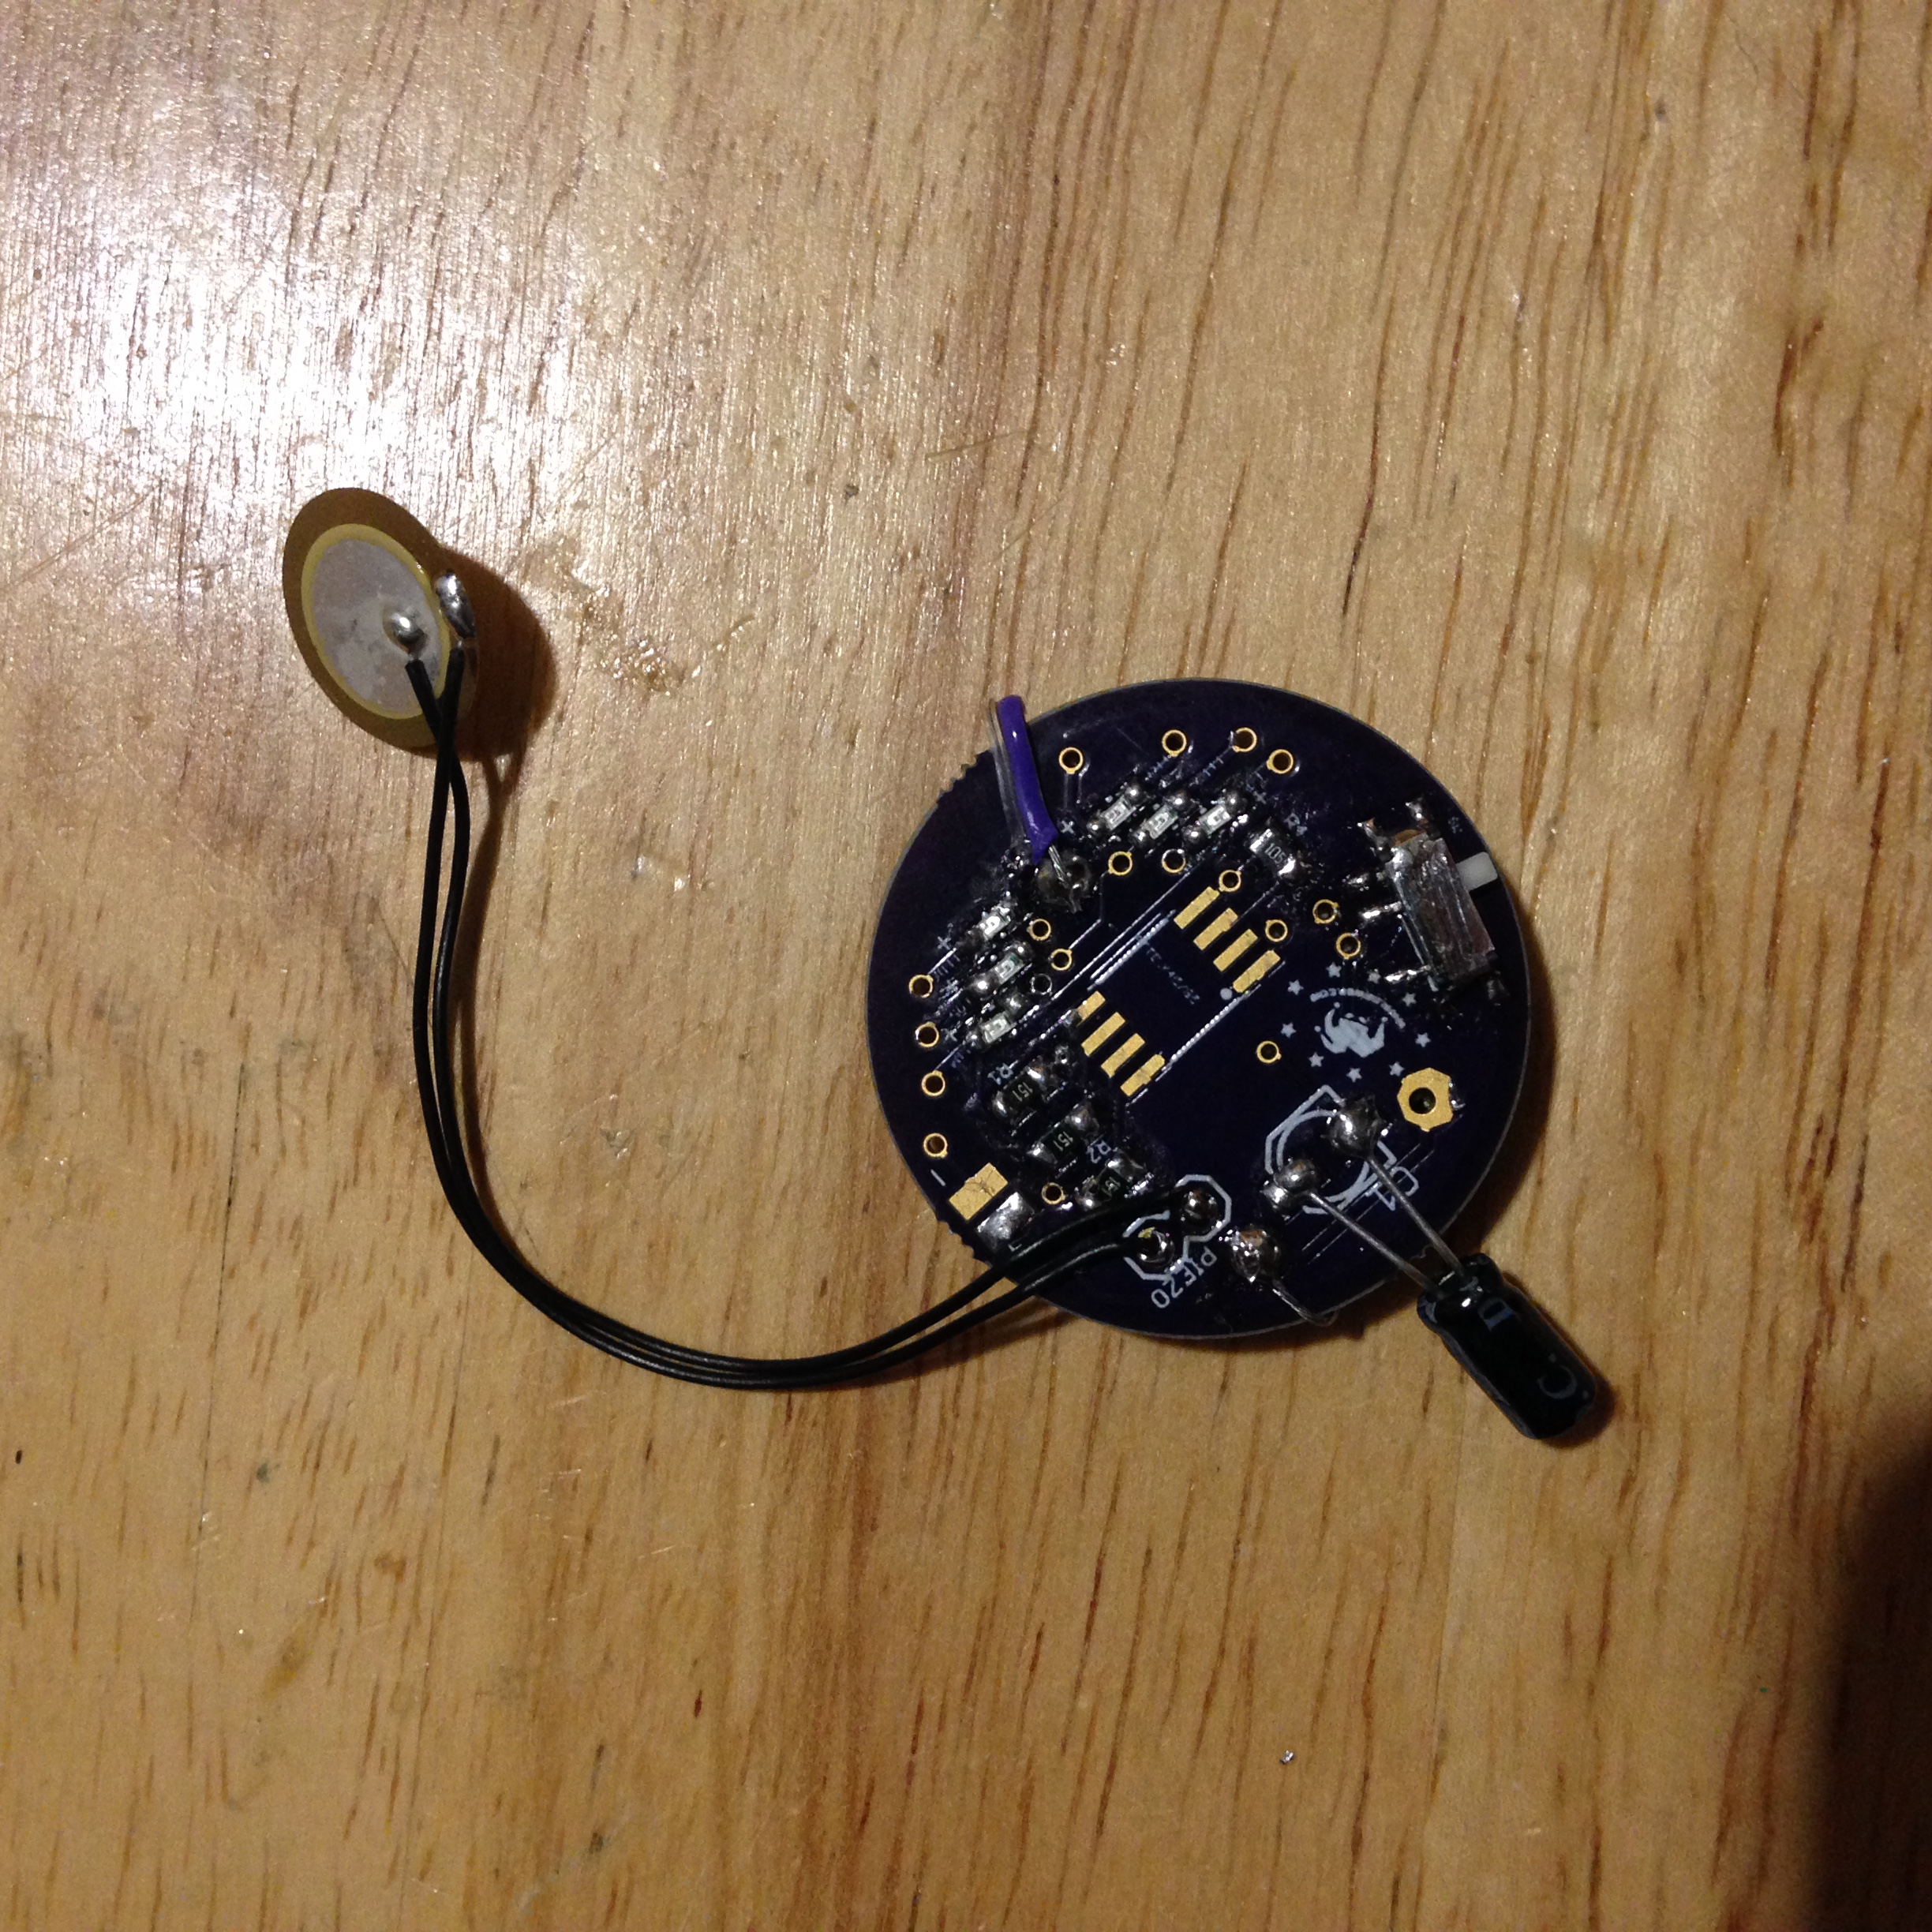
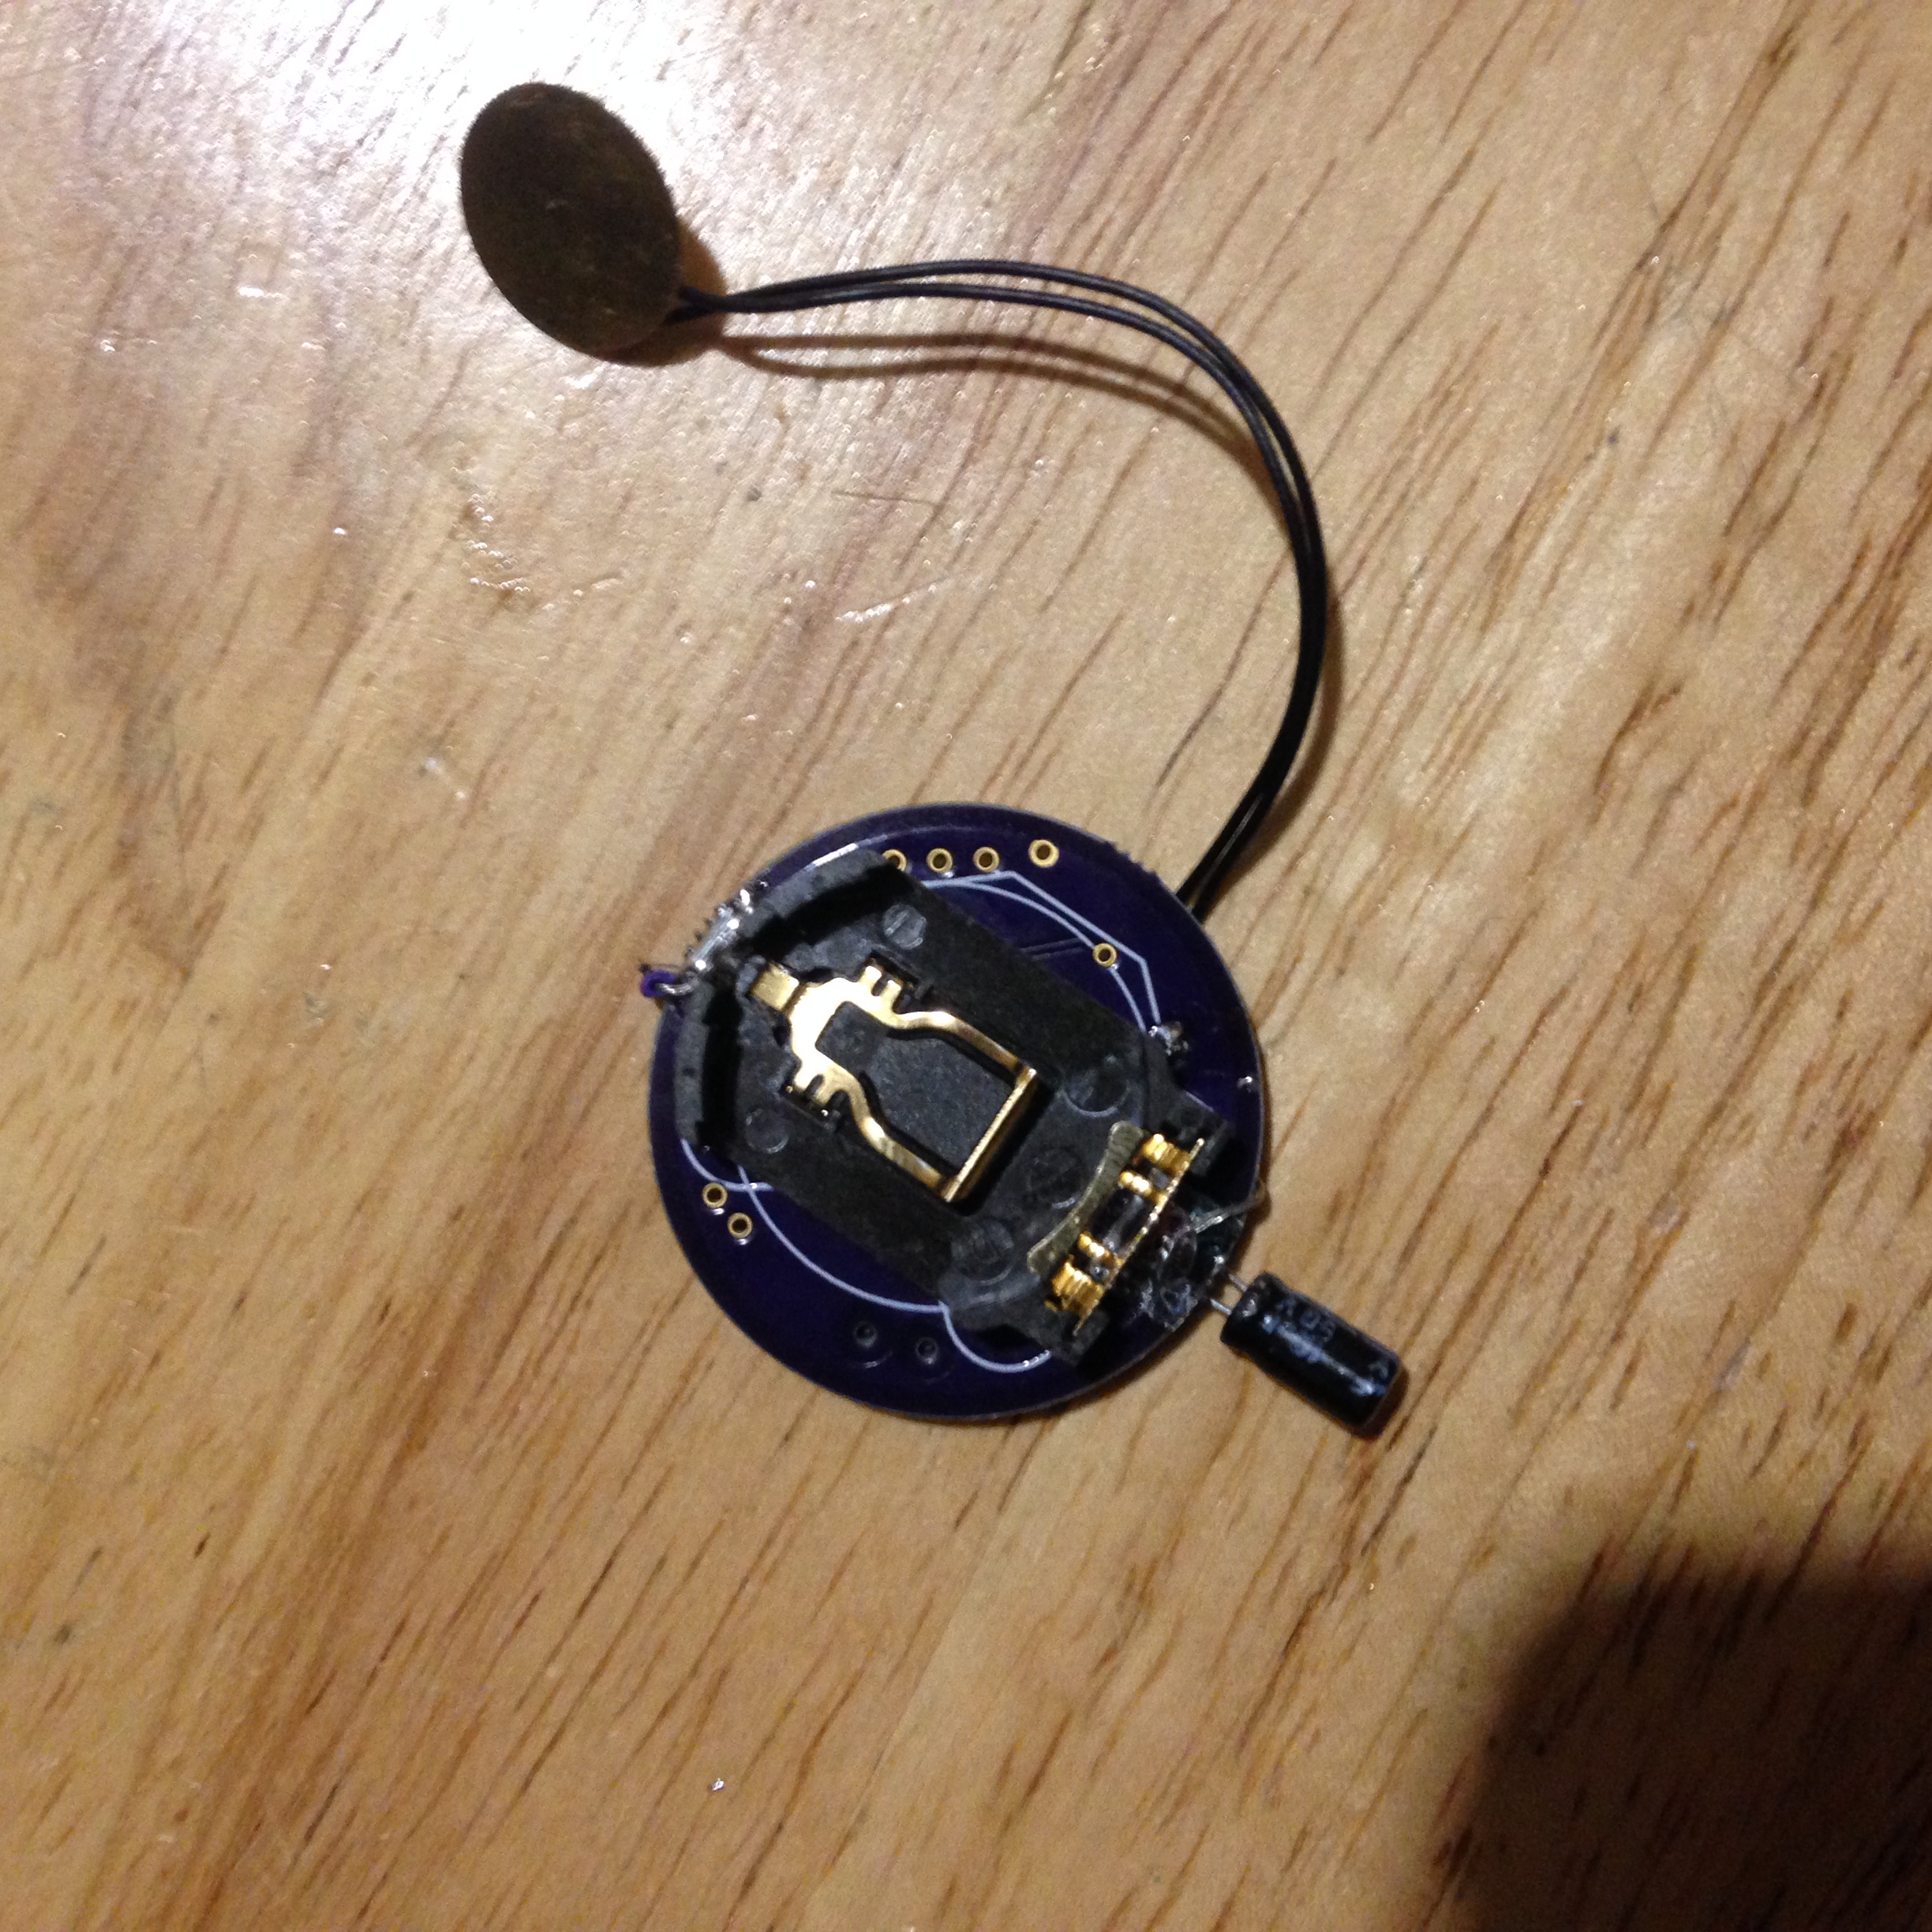
Everything was working properly but as it is often the case with the way I work, I don't plan too much in advance and have many ideas while I am building things and so I started wanting to add more features to complicate my life even more. The lanterns I chose to use had nice little stars cut through its metal top and thought that it might look nice to have light shine through those cuttings. I had recently started playing around with WS2812 RGB LEDs (also knows as Neopixel) which are super simple to use, are very cheap and require very minimal wiring. So I went back to my prototype and tried to implement the idea using a single WS2812B RGB LED. I tested my code first on my arduino and used the colorpalette demo of the FastLED WS2812 library and used a color palette reminiscent of coral so that that would fit with our wedding color theme. Once I was satisfied with the effect, I transferred the project to a attiny85 to keep the project's final size to a minimum since I was planning of fitting everything inside the lantern and tested it inside the lantern to get a better idea of the effect. Also, considering the added microcontroller and RGB LED that was added to the project, I felt that the CR2032 button cell battery was no longer appropriate to power up this project. I replaced it with a spare Nintendo 3DS battery that I had on hand. That kind of battery was much more powerful, rechargeable and still thin enough to be contained in the lantern.


I did not bother yet with adding a way to charge the battery and just charged the battery using a separate charging circuit for the meantime and planned on wiring a lipo battery charger later on. But with everything seemingly working as I intended, I went ahead and redesigned my custom circuit board to incorporate the new centrepiece's feature. I also realized that the light shinning inside the lid would not be as noticeable as I wanted them to be and that I needed some kind of light diffuser to make them nicer and more visible. I used a type of crafting paper which is very similar to waxed paper and put a piece behind every star on the lid but I feel that pretty much any paper would work as long as they let some light pass through.
I also decided to add yet another feature to the centrepiece after finally deciding what would be in the center of the lantern. I was planning of having a rose in the center and I thought it would look magical to have it glows so I added connections and components for an extra LED in case I would go with this idea.
My second custom PCB revision came up even smaller than the original and as a result, very cheap to produce. You can see side by side with my first revision.

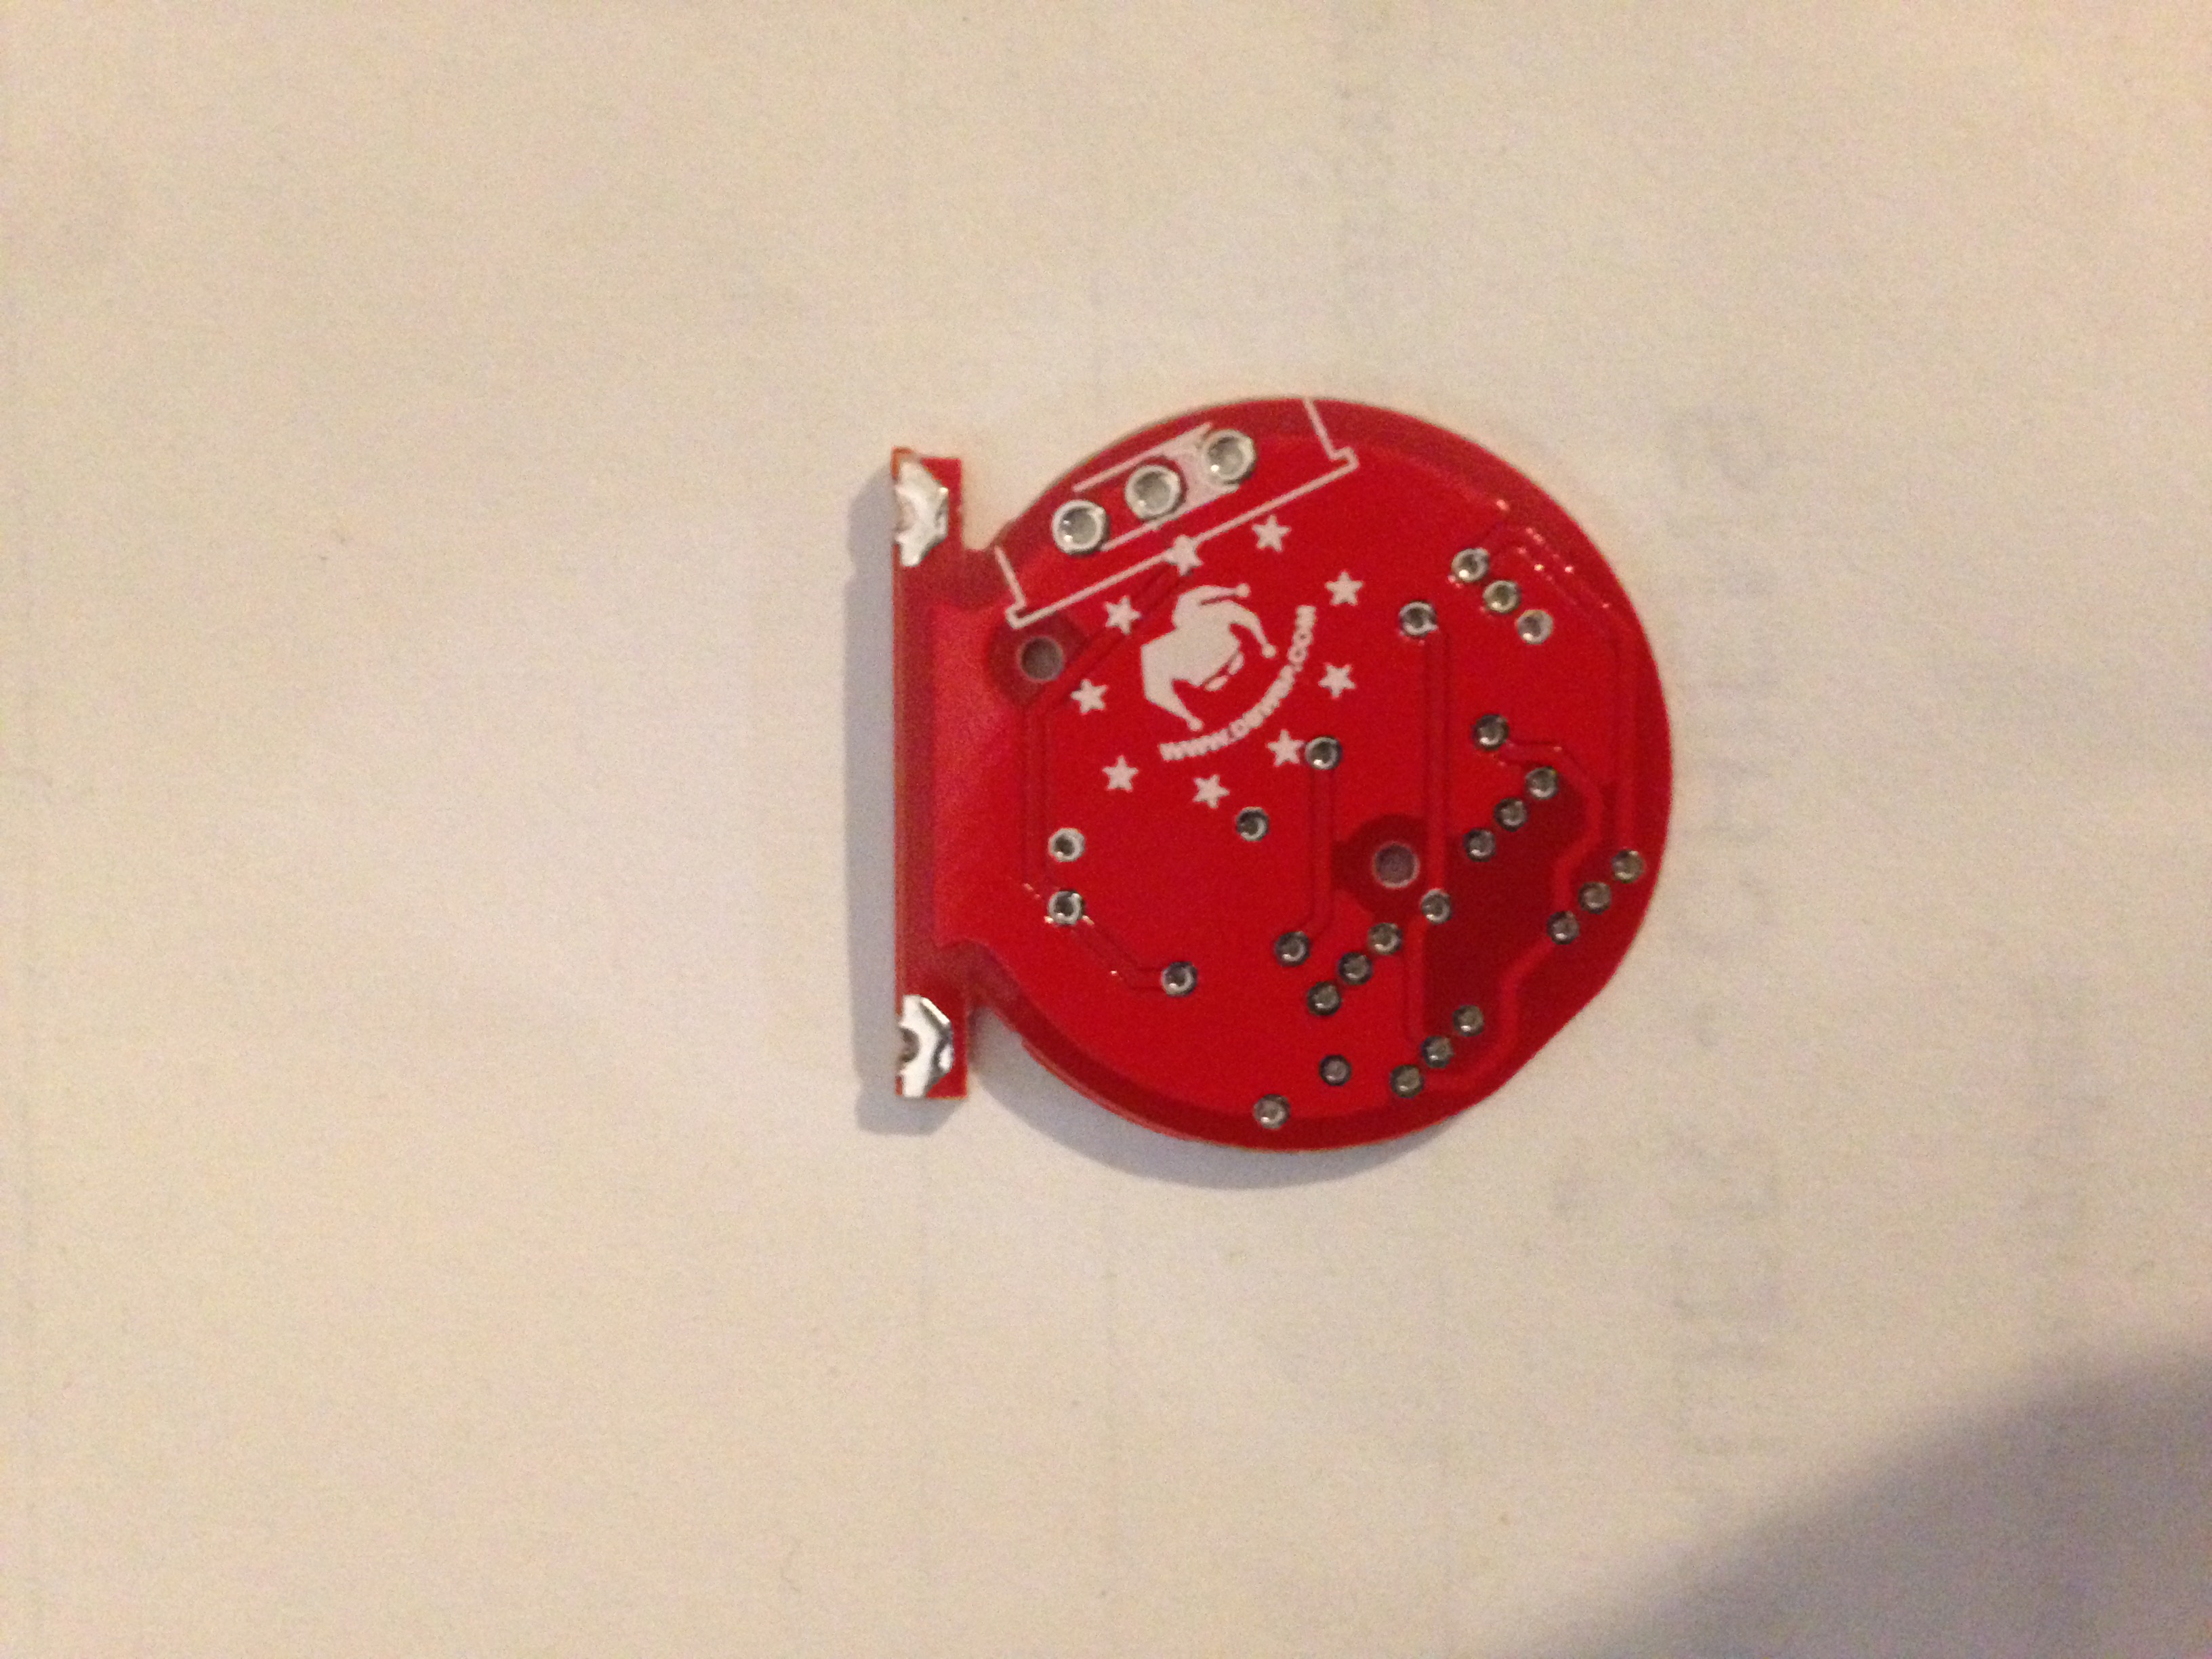
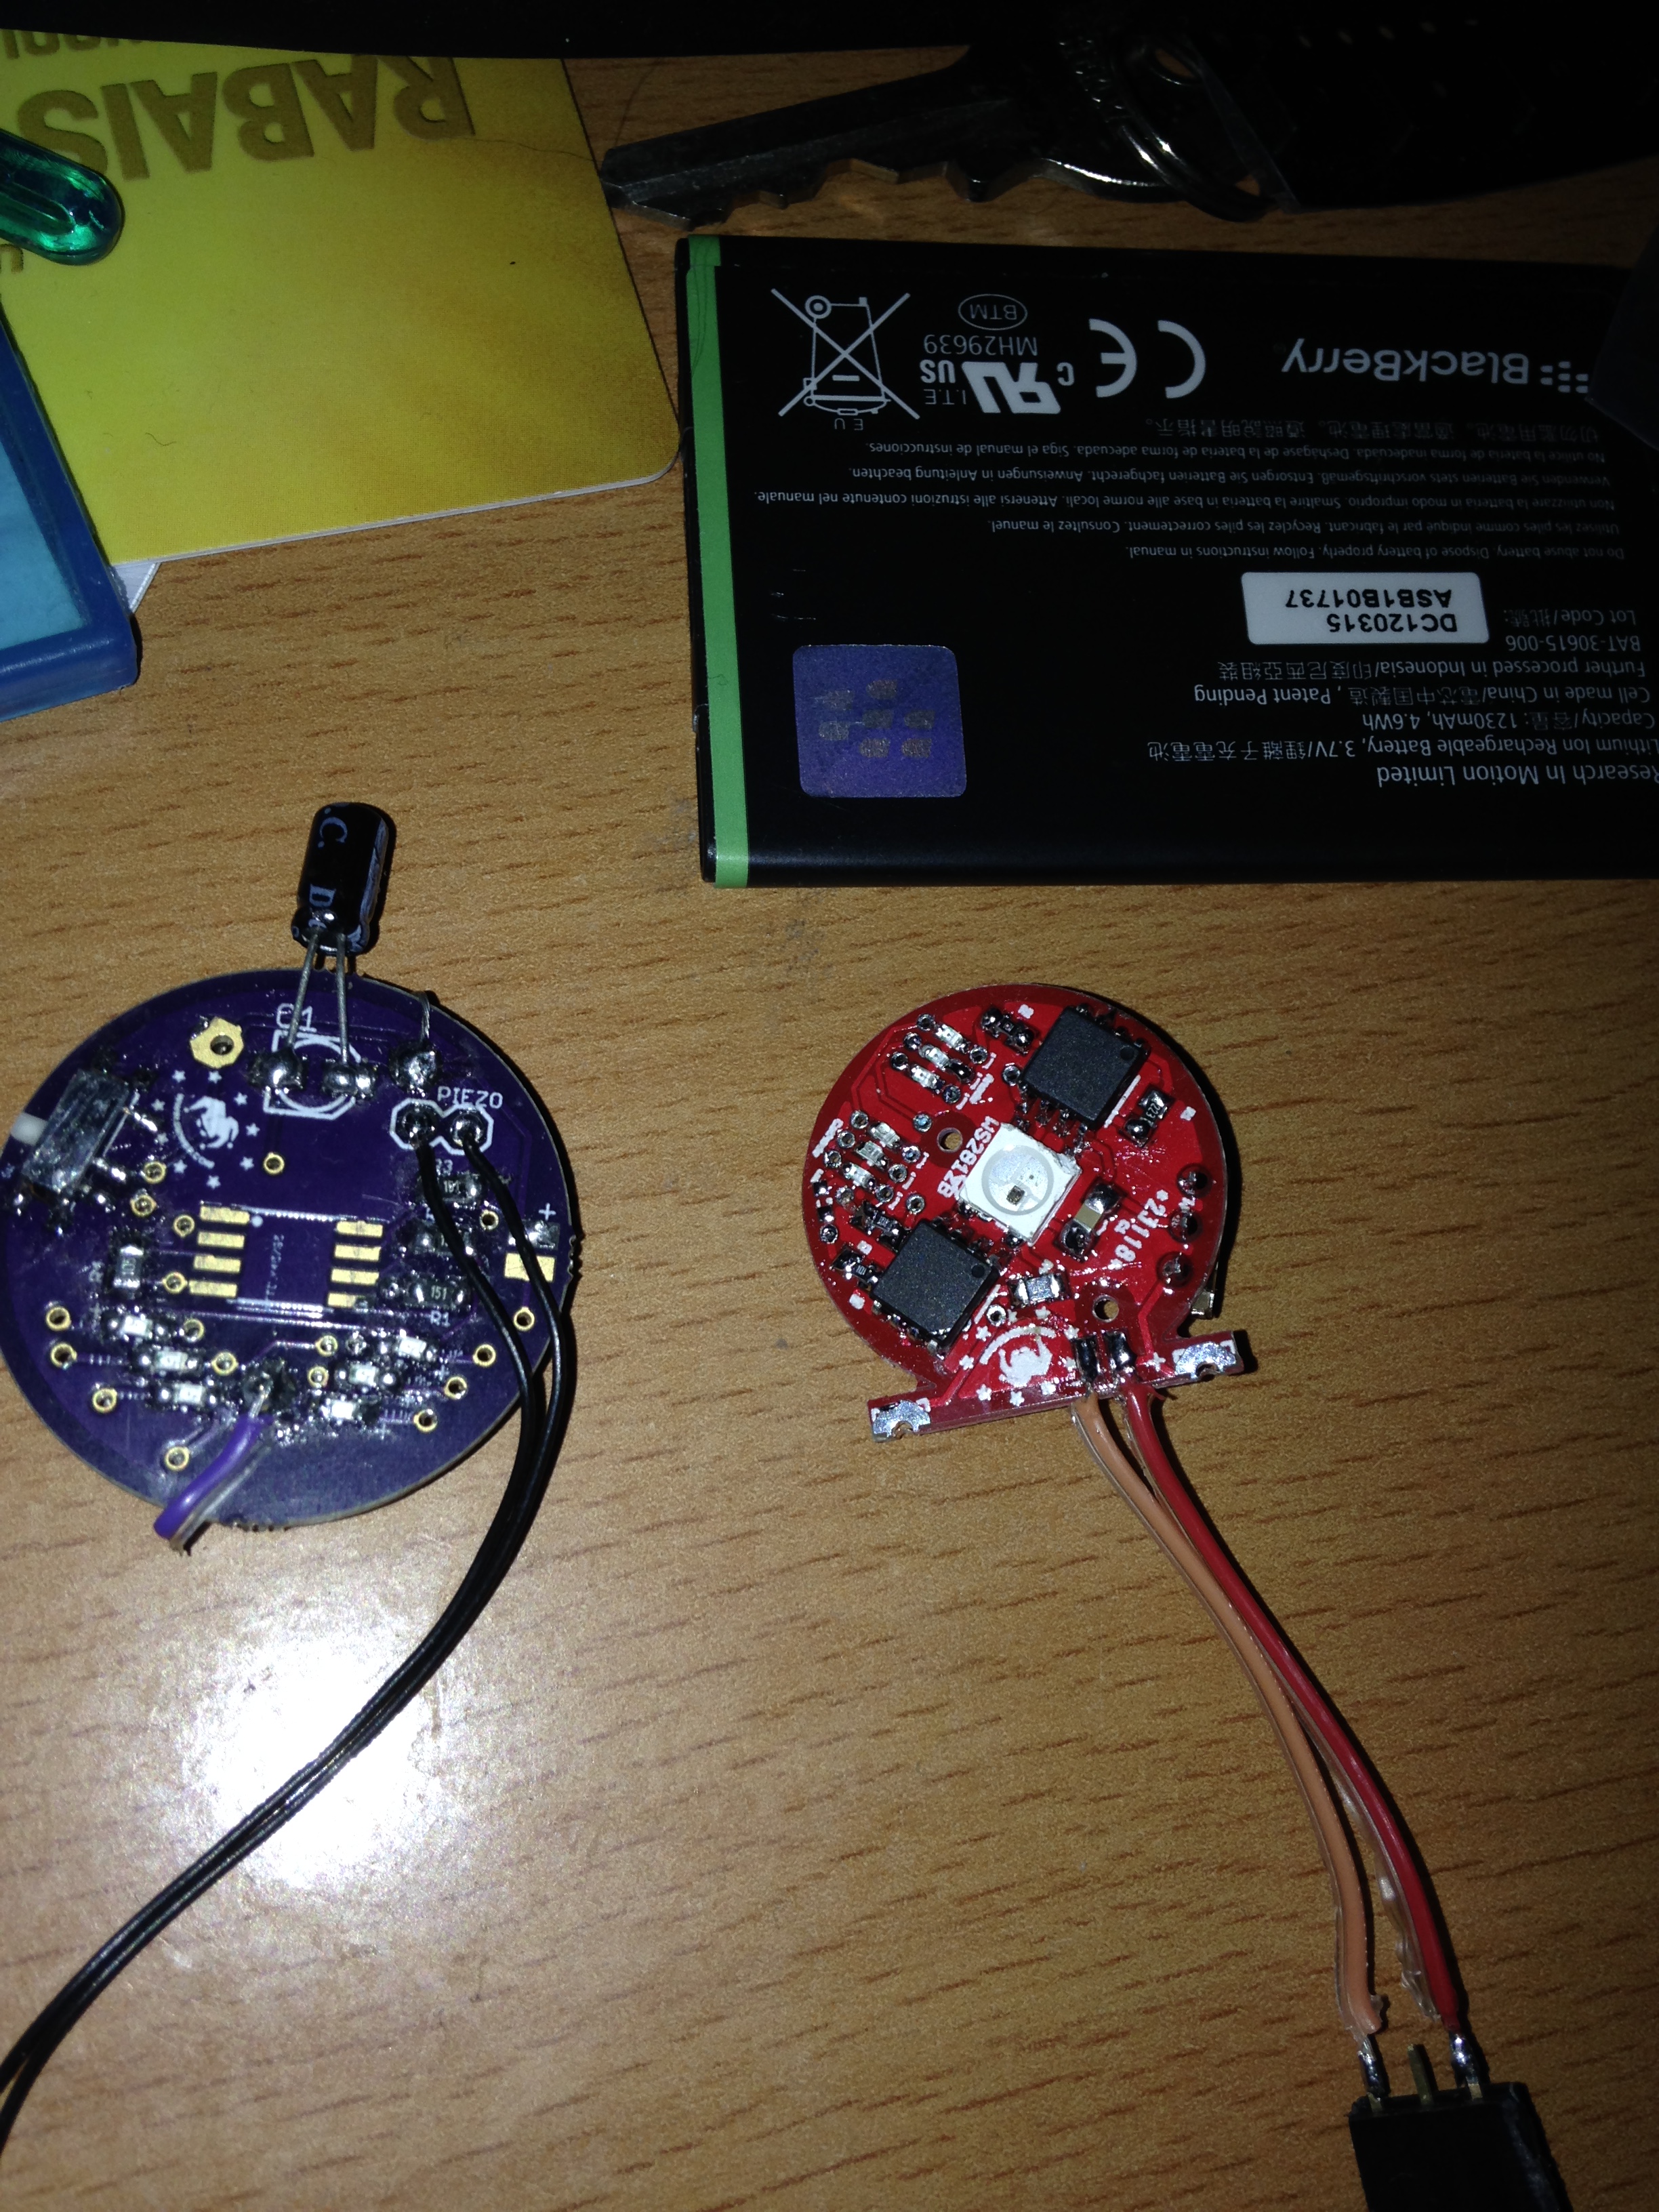
The reason why the second board revision has this weird shape is because I was planning on using an already made lipo battery charging PCB and was planning on directly soldering both boards together but I ended up messing up my dimension and the connection were not lining up properly so they were left unused. I ended up not having time to work in the charging circuit so I made them one time use. Wit hall the work that went into them, I didn't want them to become paper weight and I figured that I would reopen some after the wedding to add the missing charger.
I managed to find the perfect flower to add to the center of the lantern. I bought it a Dollarama, a Canadian store that sell most of its product for around a dollar. It was a synthetic white rose made out of foamy material with a bit of glitter on the petal. It looked very realistic and it had the perfect material as I could shine my cellphone flash through the material. I removed the flower bud from the stem, drilled a hole in the bottom and inserted a LED I had previously wired up in the center of the flower before sealing it with hot glue.
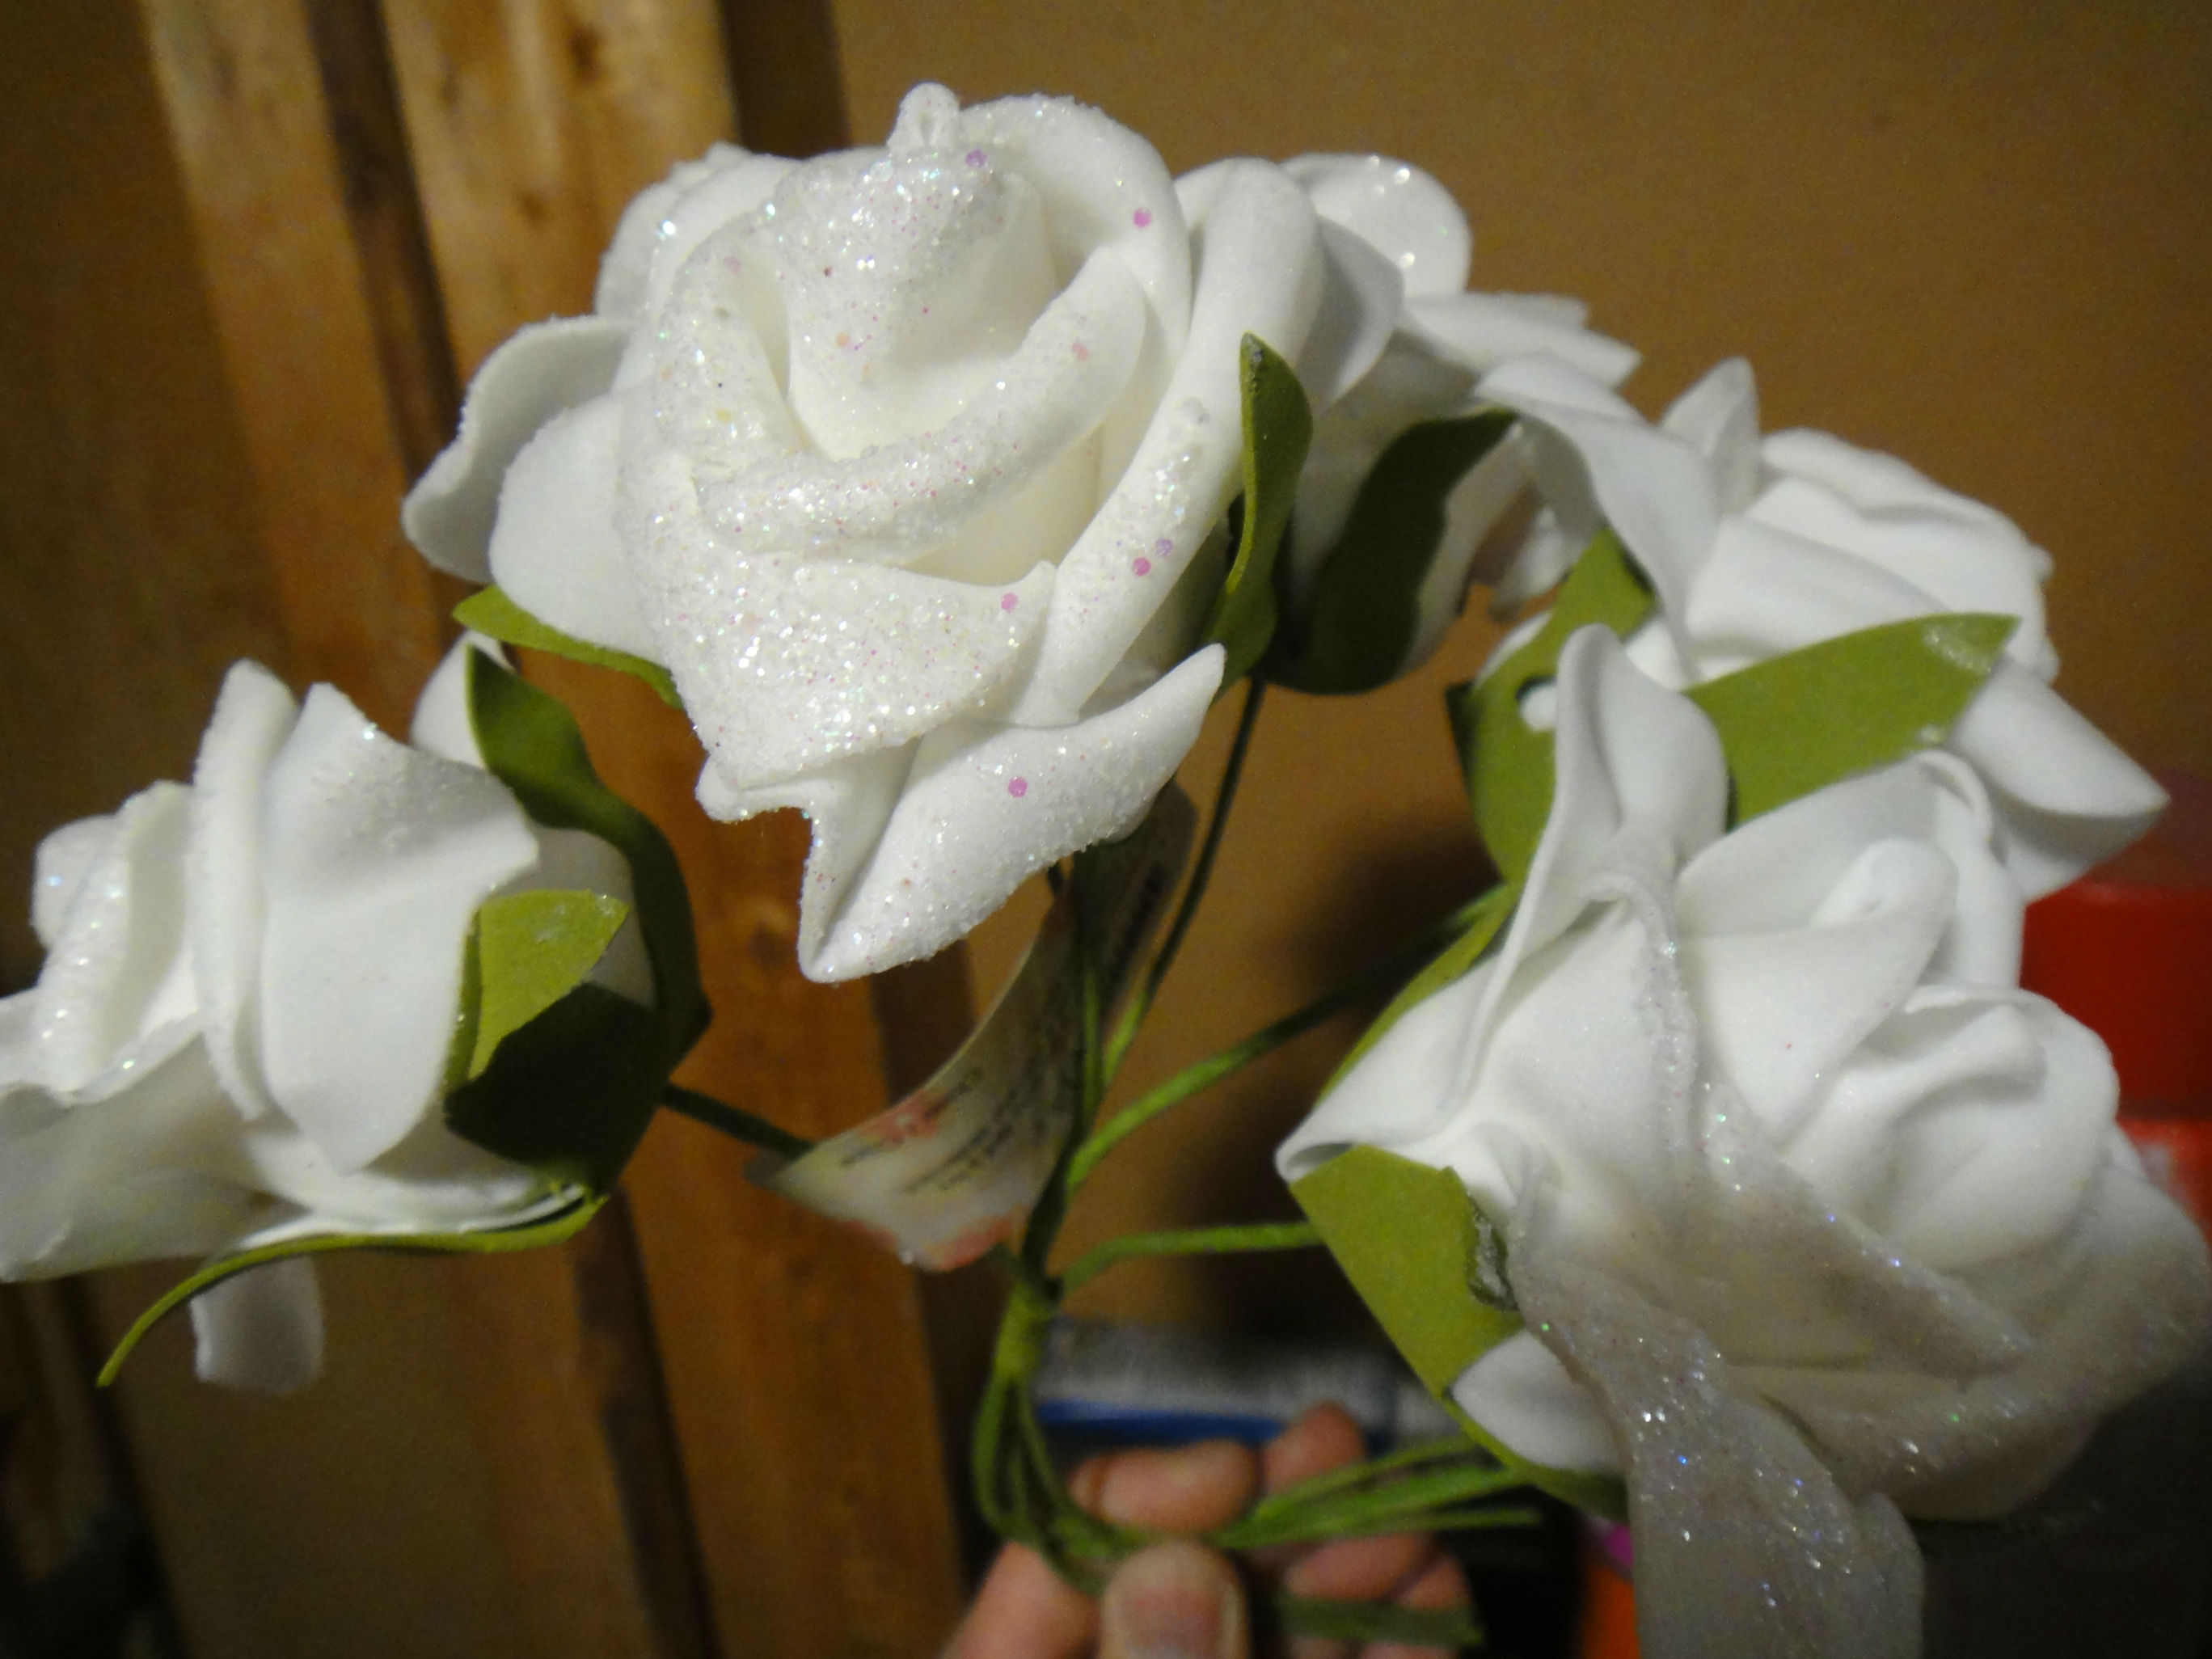

I tested again and was very pleased with the result!

Adding this extra LED was an afterthought so I did not try to animate the lighting in anyway. I thought that a breathing effect of slowly lighting on and then slowly dimming down (like on some Mac laptop) would have been nice but at this point I was pressing with time and I thought it might be too much to add considering all the other effect that I was adding to the lantern.
Now that all my ideas seemed to be working out, it was time to assemble all of my centrepieces. It turned out to be a real nightmare as I waited far too long to start building them and started way too close to the wedding date. Soldering the microscopic SMD LEDs took ages as there were so many to do. I had eighteen lanterns to produce, each of them with six SMD LEDs that needed to be wired with two hair-thin enamel wire cut to the correct length and have their insulation stripped to allow for soldering. That's 216 individual wires to solder to microscopic parts and that is without counting the added wiring for the flower LED and soldering the various parts on the eighteen PCBs! I grossly under evaluated the time it would take and had to work non-stop in the two weeks preceding the wedding. In fact I finished assembling them a day or two before the wedding!
I removed each glass panel from the lantern by unclipping them and then removed all the labels with some glue remover (Googone) before spray painting them gold to match the wedding color theme.


One of the problems that I had was figuring out a way to make the circuit hold inside the top of the lantern. I thought of using thin piece of wood with some kind of retainers on the side but I was getting pressed with time and I decided to have the circuit board and the battery mounted with glue on a piece of cardboard that I cut to size. It looks a bit cheap but I was running out of time and needed to get it done.
Using cardboard, while unprofessional looking, allow me to force insert it inside the top even with the bulk of the battery sticking out.
After painting, I started glueing the LED flower that I had pre-wired in the center, ran the wire on one of the sides, connected it to the mounted PCB and put the cardboard insert inside the top of the lantern making sure everything was working before sealing it by glueing the cardboard stock to the lantern's top.

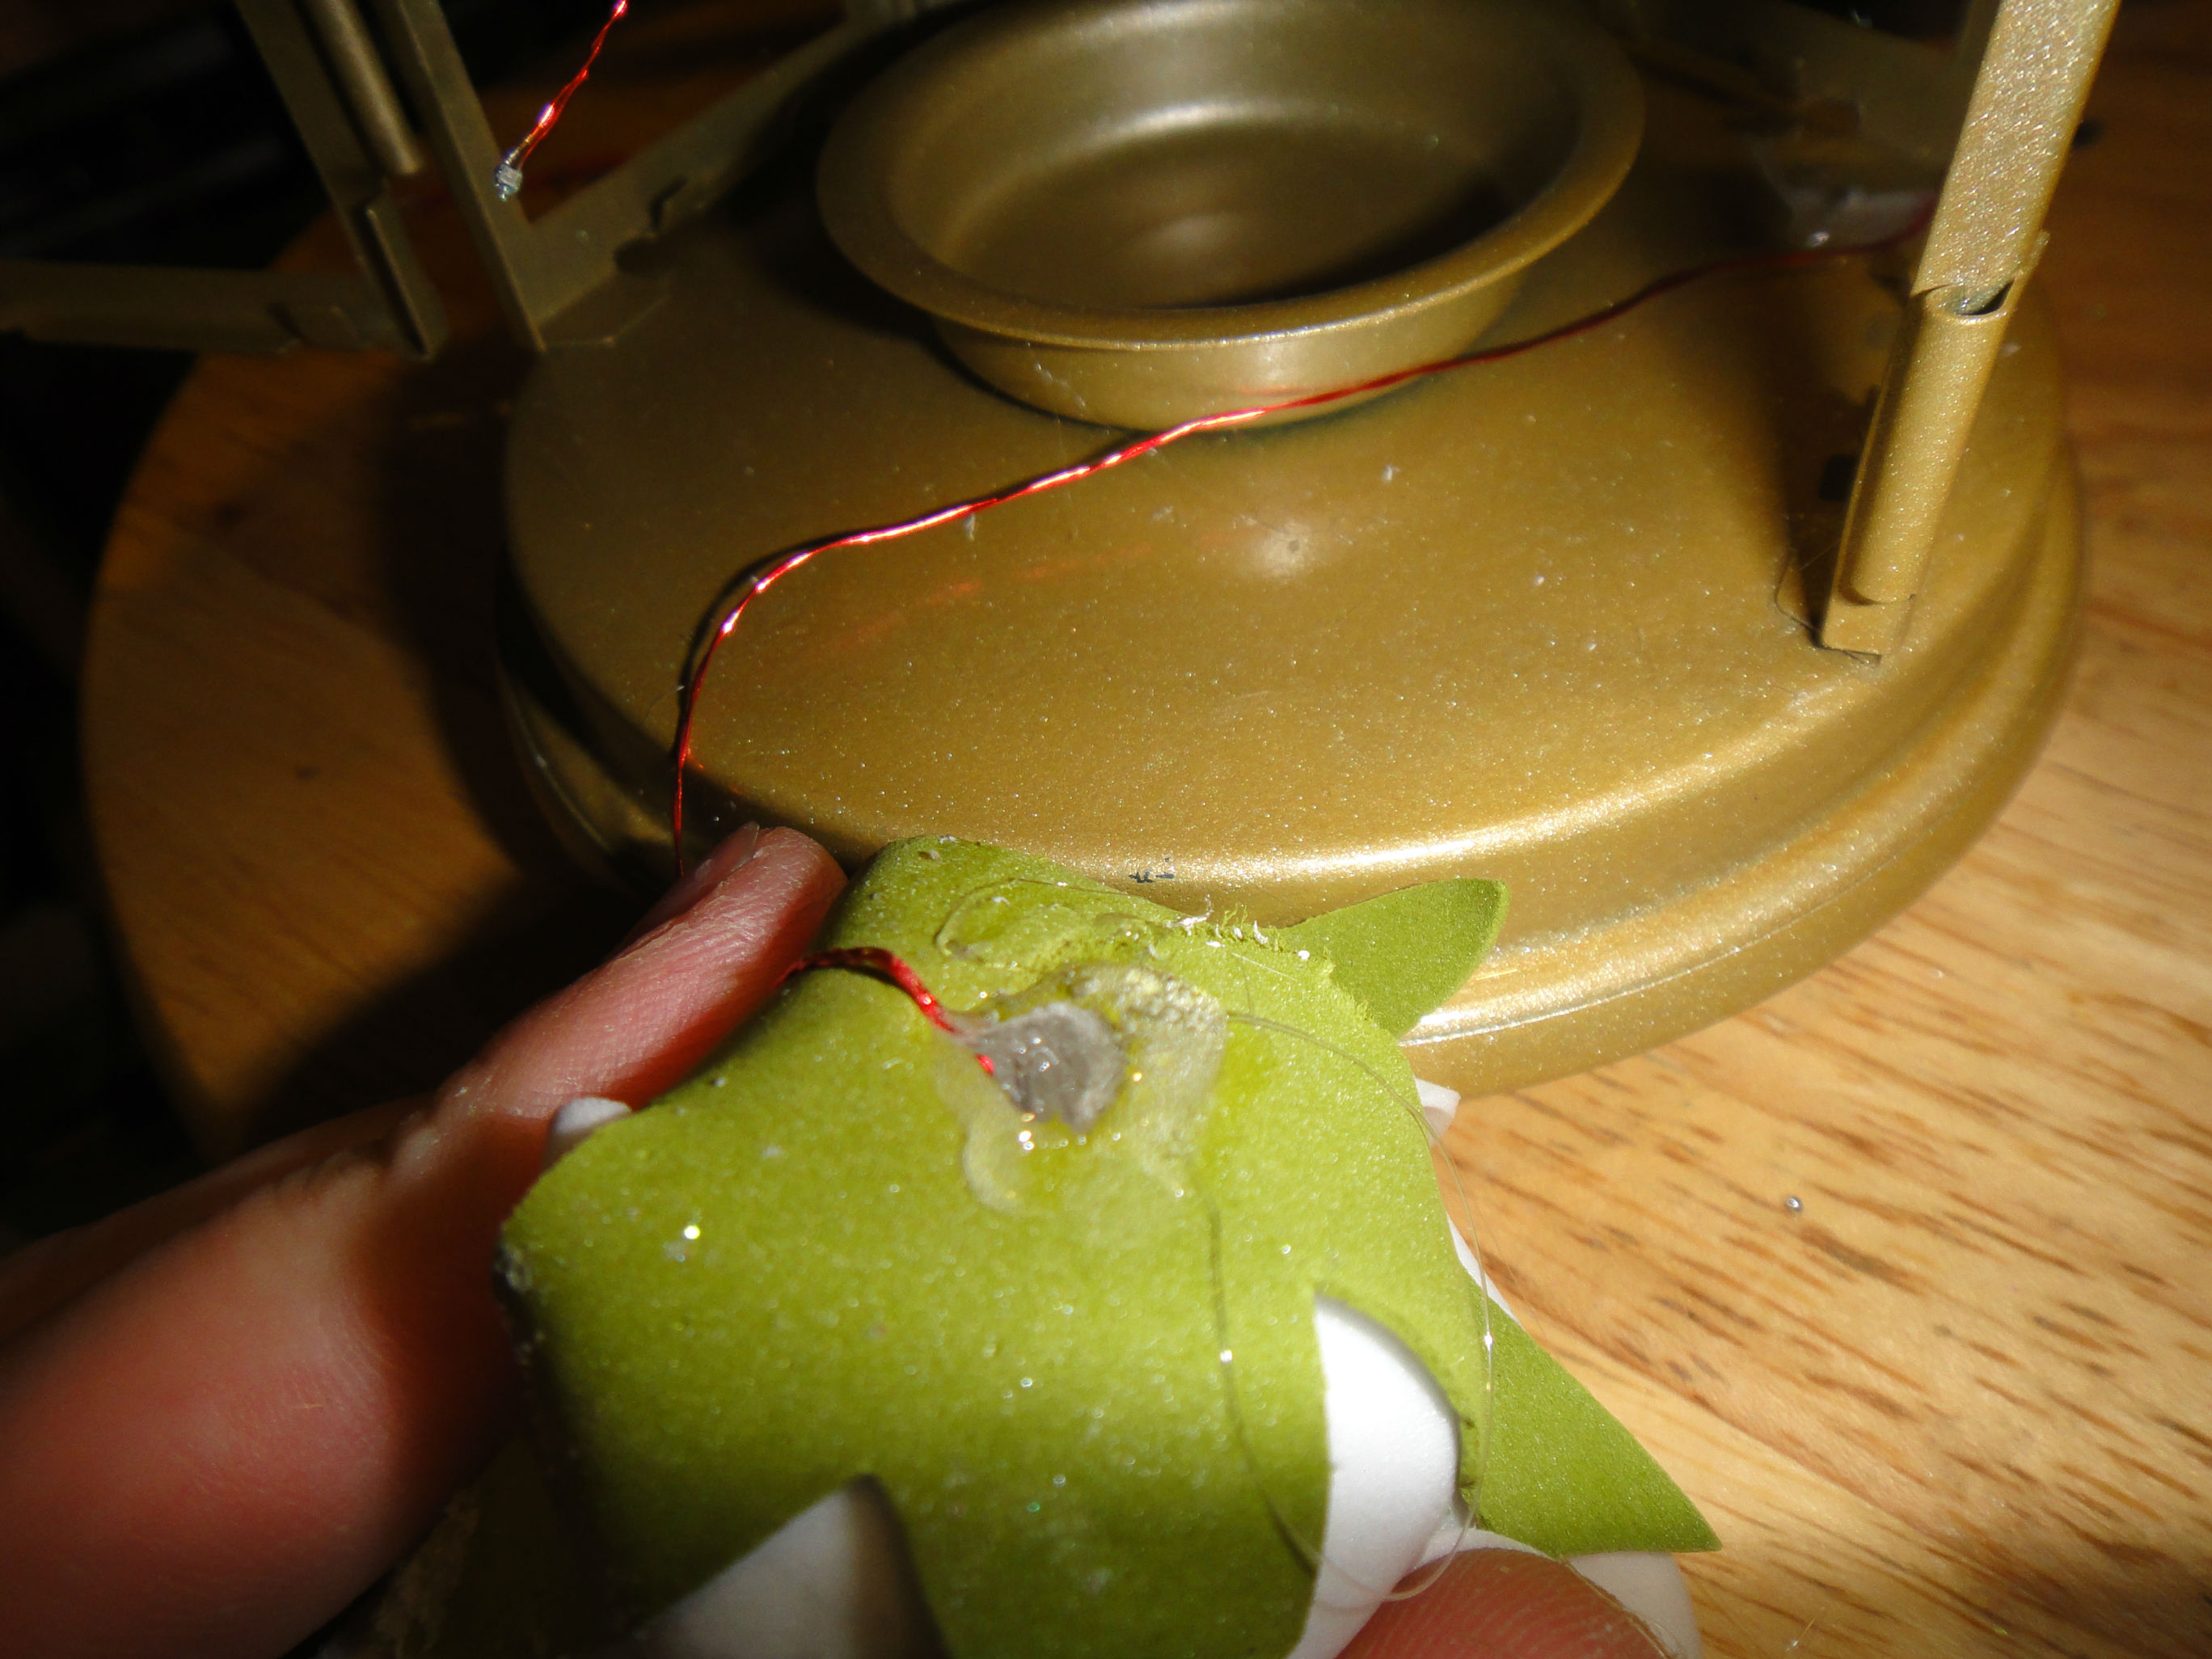

I still needed something decorative around the flower, something I did not figure out until the last minute. I had a few ideas ranging from pebbles, coloured gravel, glass stone to simulating water with epoxy. But in the end, I went with green dried moss. It was very cheap, easy to fix inside and also very pretty, in my opinion. I put strands of hot glue at the bottom of the lamp and just filled the bottom with the moss. Not only was it very pretty but it was also hiding the wires.
One thing that worried me was the fact that I had used cellphone battery for some of them and I was really not sure how long they would last. Initial testing pointed at around 5 hours of constant use but these results wouldn't necessarily apply to all the lanterns considering I had different kinds of batteries and many of them were used in a cellphone before being salvaged for my project. In the end I was lucky as only 2 of the centerpieces ran out of batteries during the evening and some of them still appear to light up a month later even after being on constantly for the 6 hours of the reception!
Beside not having time to add the battery charger to the centerpiece, my wife and I were very happy with the result! I think it ended up looking really nice on the tables and they were very popular with our guests. So popular that, by the time we left the wedding, 17 of the 18 centerpiece had gone missing. We even saw two random ladies who were attending a different wedding leaving with one of them. I didn't mind so much except for the fact that I knew they would die off once the battery would run out.

Firefly Lantern PCB Gerber (without charging circuit): firefly_lantern_pcb.zip
Firefly Lantern PCB Gerber with charging circuit (untested): firefly_lantern_bat_UNTESTED.zip
Firefly animation code for the attiny45 (All credit to Xander Hudson for programming this): firefly_hex_attiny45.zip
Code for the WS2812 light animation (Based on FlashLED designer Palette example): Arduino_WS2812_Coral_LED.zip


